With OmniChannel you can now add more contact channels through various IM and calling applications in addition to WhatsApp. It also includes Telegram, Facebook Messenger, SMS, Phone call, Skype, FaceTime, Instagram, Line, TikTok, Snapchat, Viber, WeChat and KakaoTalk. Every time a user of your website clicks on the floating button icon, it will display the collection of available channels configured so that the visitor can choose how they want to contact you. Remember to have the necessary apps installed on your device.
Omnichannel Activation
To add and configure new channels, go to the WordPress dashboard in the Joinchat> Settings> Premium menu and enable (ON) the Omnichannel add-on.
OmniChannel Settings
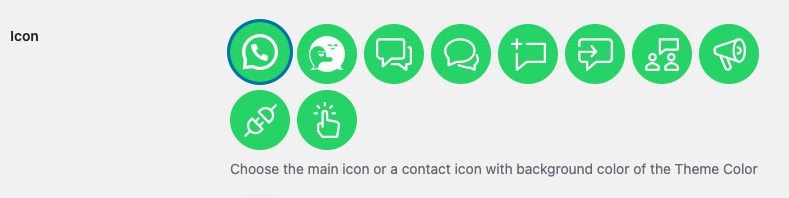
- Go to the WordPress control panel and clic Settings> Joinchat. In the General tab you can choose from 9 default chat icons. You can choose the background color of the icon by changing the Theme Color.
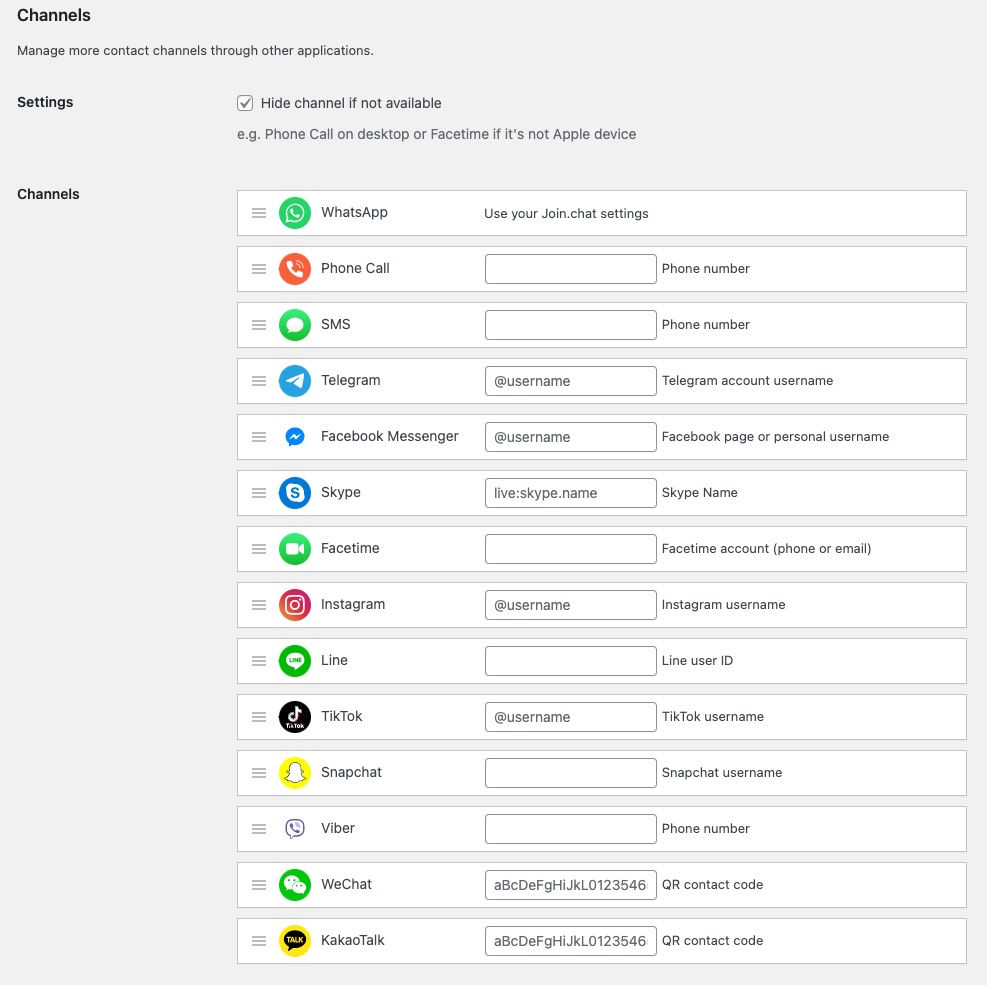
- On the Channels tab you can add new contact channels through various calling and instant messaging applications.
- In each case, enter the application profile, phone number, username…
- Check the option Hide the channel if it is not available, in case you do not have that application, desktop phone call or FaceTime s is not an Apple device.
- Sort the position of the channels by dragging up or down as you like and save the changes.
☝️ To be considered:
In case you have not defined a CTA message and the Optin in your Joinchat settings, the chat window will not be displayed, so only the defined contact buttons will appear on the screen.
WeChat Channel
Configuring the WeChat button is not as simple as entering a number or a user ID, you need to extract a number from the QR Code that the App generates for each user. We will explain it step by step:
- Open Wechat, at the bottom go to the “ME” section. At the top click on your profile picture, then click on “My QR code”, at the top right open the options and save your QR code.
- We must read our WeChat QR code from a web service, we recommend Webqr that allows you to do it directly from the computer camera or by uploading the image of the code. Once recognized we only have to copy the alphanumeric code that appears in the link. In the following example you can see that the code we need is
"kAe-GaFpDzXODYZHSB6zO0A"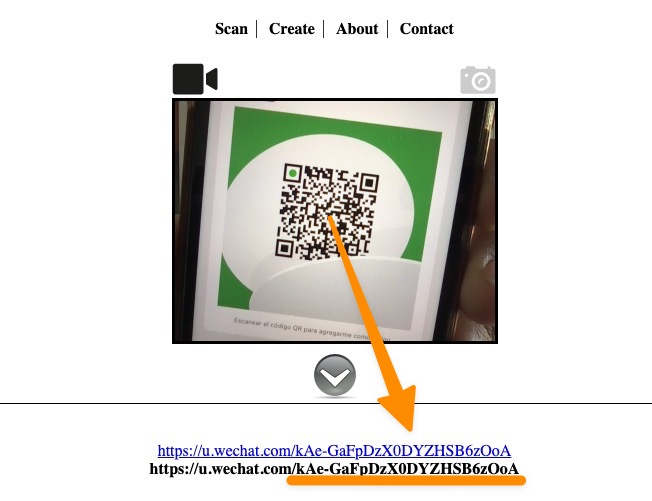
- To finish, simply paste the code in the field provided for the WeChat channel and save.

KakaoTalk Channel
Configuring the KakaoTalk button is not as simple as entering a number or a user ID, you need to extract a number from the QR Code that the App generates for each user. We will explain it step by step:
- Open KakaoTalk App, at the bottom right click on the three horizontal dots. At the top click on your profile picture, in the upper right corner, click on the settings icon, in the add section click on “QR Code” and then “My profile”. Now your QR has been generated, you can download it, share it, read it or change it, note that this option will stop working if you have generated one before.
- We must read our KakaoTalk QR code from a web service, we recommend Webqr that allows you to do it directly from the computer camera or by uploading the image of the code. Once recognized we only have to copy the alphanumeric code that appears in the link. In the following example you can see that the code we need is
"BZpSrtQSG8dW2sk7yjkxbCTLMxA"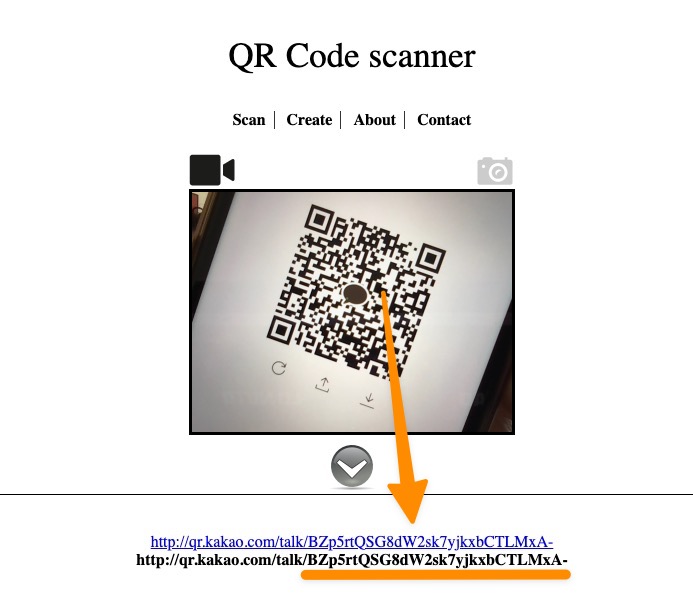
- To finish, simply paste the code in the field provided for the KakaoTalk channel and save.

Add more Channels
In future versions, we will be adding more applications giving priority to the ones that you request the most, but if you don’t want to wait or your contact method is a bit “special”, you can also add it yourself.
With the 'joinchat_omnichannel_apps' filter you can add, remove or modify OmniChannel applications. The following example shows how we can add an email link:
function joinchat_omnichannel_add_email( $channels ) {
	$channels['email'] = array(
		'name' => 'Email',
		'scheme' => 'mailto:{ID}?body={MSG}',
		'placeholder' => 'user@example.com',
		'img' => get_stylesheet_directory_uri() . '/img/email.png',
		'help' => 'Email address',
	);
	return $channels;
}
add_filter( 'joinchat_omnichannel_apps', 'joinchat_omnichannel_add_email' );
With this, you will have available the email application ready to enter your email address from the settings of Join.Chat> Channels
NOTE 1: the
'scheme'must use the variable{ID}that will be replaced by the user, in this case, the email address.{MSG}can also be used if the link to the app allows an initial message to be sent.NOTE 2: In this example, we are using the image email.png that is hosted in the theme’s
imgfolder.